Painting What You See: Turning Birdwatching Moments into Masterpieces
As a birdwatcher with over 13 years of field experience, I’ve spent countless dawns perched quietly under trees, watching the flutter of wings and listening to the soft rustle of feathers. But there’s another side to birding that many don’t explore — the artistic one. Birdwatching isn’t just about observation. It’s about interpretation. And for me, that interpretation often takes the form of painting.
In this article, I’ll walk you through how to turn your birdwatching adventures into meaningful works of art — even if you’ve never held a paintbrush before.
Why Art and Birdwatching Go Hand-in-Hand
Birds are natural muses. Their plumage, posture, and behavior lend themselves perfectly to creative expression. Whether it’s a hummingbird hovering midair or a great blue heron frozen in a moment of stillness, each scene offers an opportunity to capture something magical.
Painting what you see forces you to look closer — to notice the curve of a beak, the shadows on feathers, the way light filters through a tail. It deepens your appreciation and sharpens your observational skills — a win-win for both artists and birders.
Step 1: Observe Like an Artist
Before paint hits paper, you need to look at birds differently.
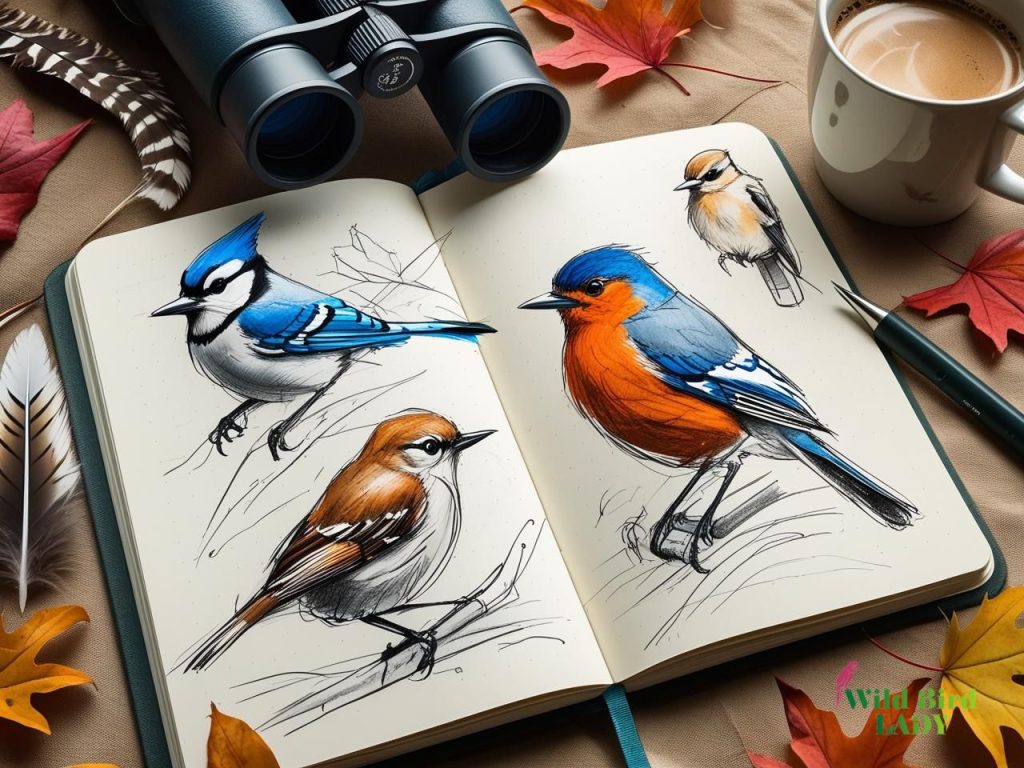
When I’m in the field, I bring not only my binoculars and notebook, but also a small sketchpad. You don’t have to be a trained artist to start sketching — it’s simply about capturing form, movement, and posture. Don’t worry about color or detail yet. Focus on gesture lines and general shapes.
Here’s what I look for:
- Posture: Is the bird perched, flying, preening?
- Shape: Look at silhouette and proportions (head-to-body ratio, wing length).
- Behavior: A bird puffing up its feathers tells a very different story than one in flight.
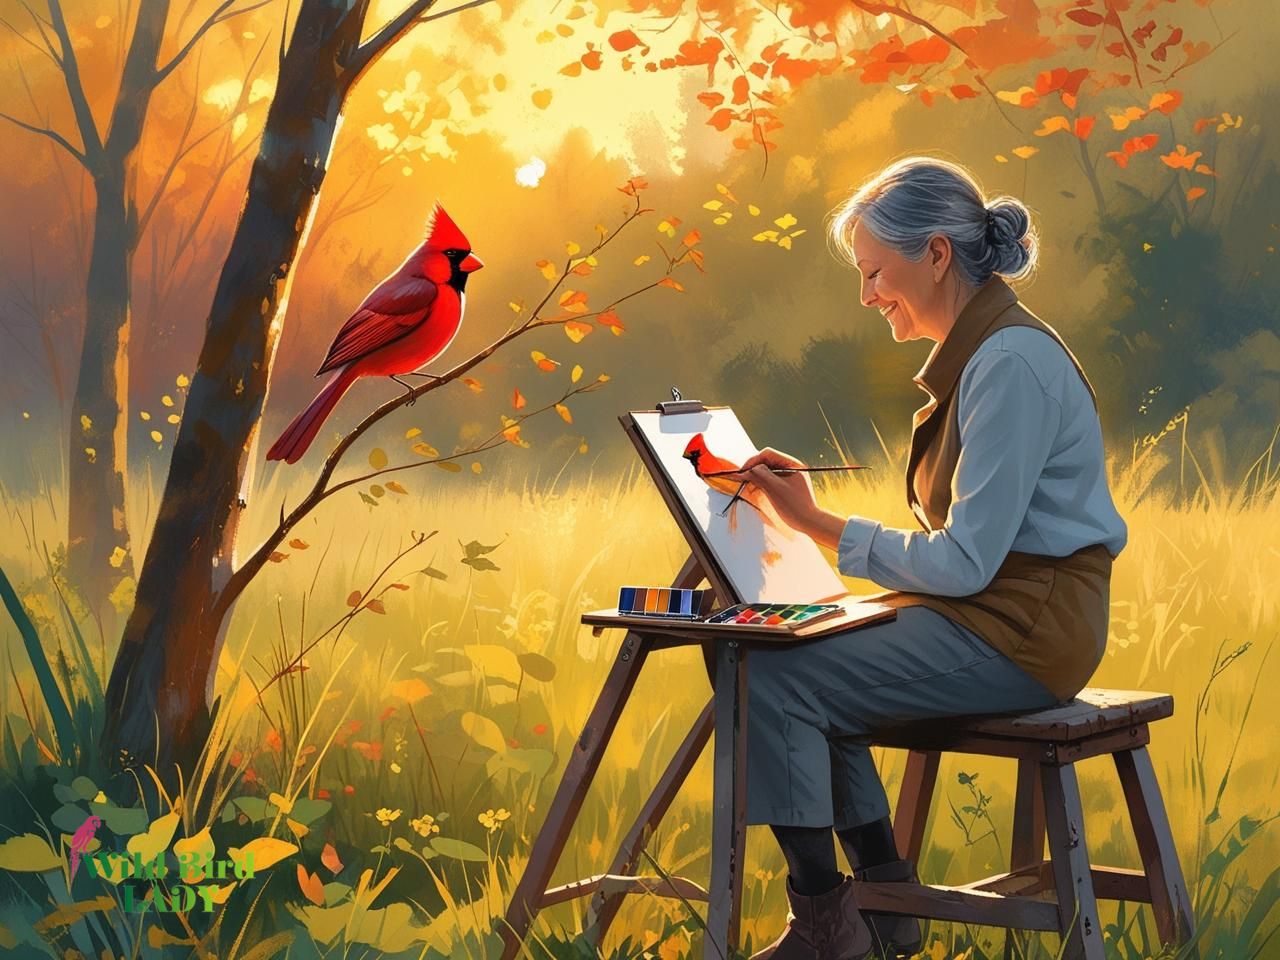
I always recommend studying birds you’re familiar with. If you’re a backyard birder, start with the regulars — maybe a Northern Cardinal, an American Robin, or a Blue Jay.
Step 2: Use Photography as a Tool
Sometimes birds just won’t stay still long enough to draw. That’s where photography comes in. I often use a DSLR with a zoom lens or even my phone paired with a spotting scope (digiscoping) to capture fleeting poses.
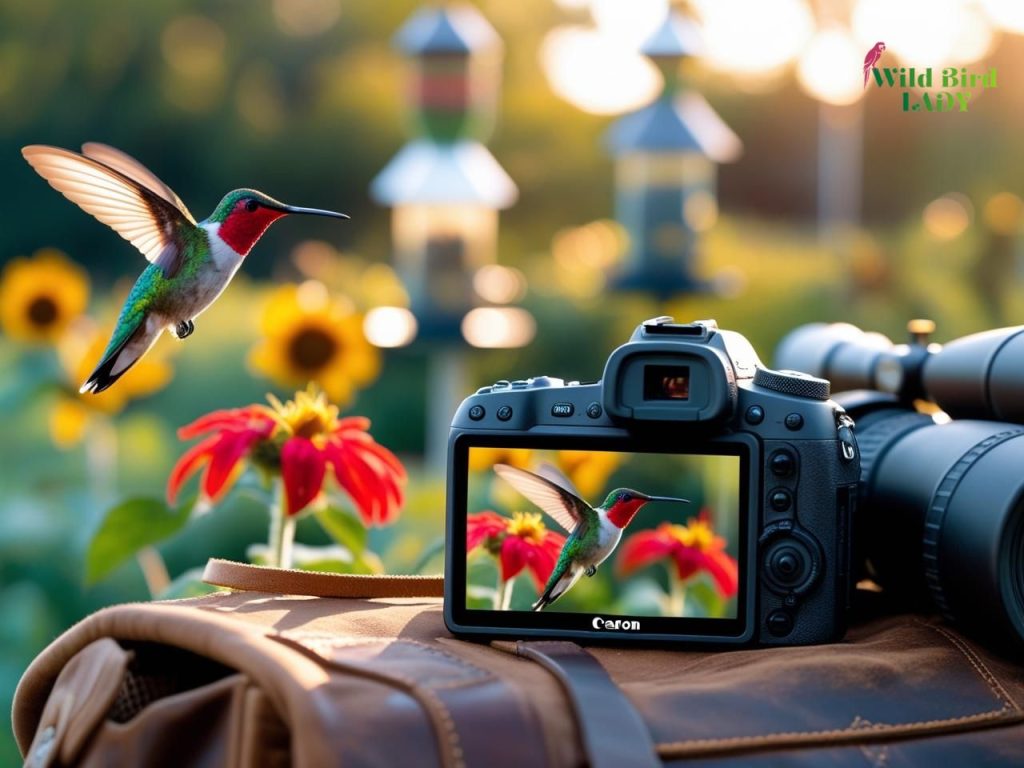
Don’t think of the photo as the final product — think of it as reference material. When I’m back in the studio, I pull up several shots of the same bird from different angles. This gives me a complete understanding of the subject before I commit anything to canvas.
Pro tip: Try to photograph birds in different lighting — backlight can be great for drama, while soft morning light helps capture color.
Step 3: Start with Simple Materials
You don’t need a studio or expensive supplies to begin. Here’s what I suggest:
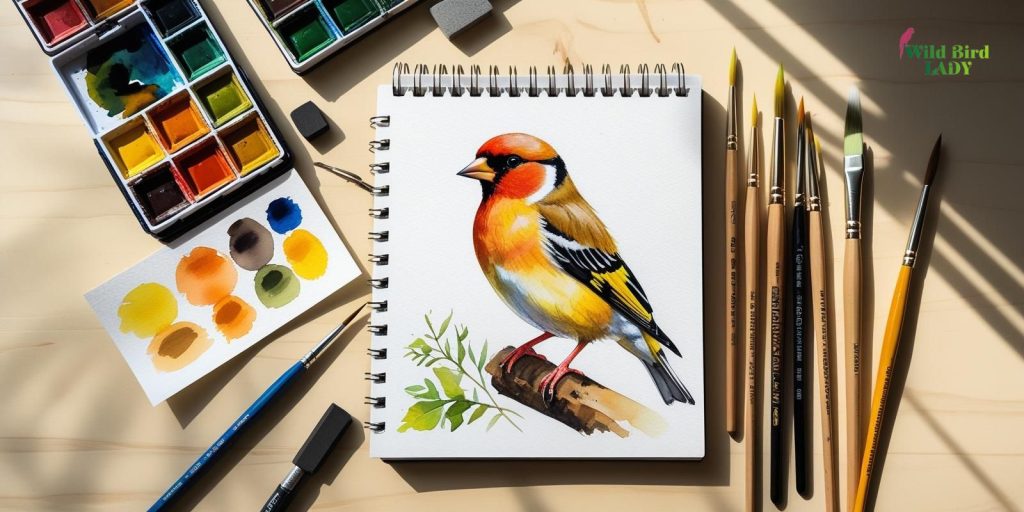
Beginner’s Bird Art Kit:
- Sketchpad (smooth or medium-tooth paper)
- Pencils (2B and 4B for softer shading)
- Kneaded eraser (gentle and moldable)
- Watercolors or gouache (good for layering)
- Brushes (size 2, 4, and 8 round)
- Reference photos or sketches from the field
If you’re unsure about color, try monochrome painting to focus on form first. I did that for years before fully committing to painting in color.
Step 4: Capture the Spirit, Not Just the Shape
Realism isn’t the only goal. Some of the most moving bird art I’ve seen isn’t anatomically perfect — but it captures the spirit of the bird.
Ask yourself:
- What emotion did I feel watching this bird?
- Was it powerful, gentle, comical, curious?
- What colors or brushstrokes match that feeling?
For example, when I painted a Belted Kingfisher diving into a stream, I used bold, quick strokes to express energy and movement. When painting a sleepy Mourning Dove, I used soft transitions and muted tones.
Step 5: Experiment with Style and Medium
Bird art isn’t limited to realism or watercolor. Many birdwatchers turn their observations into:
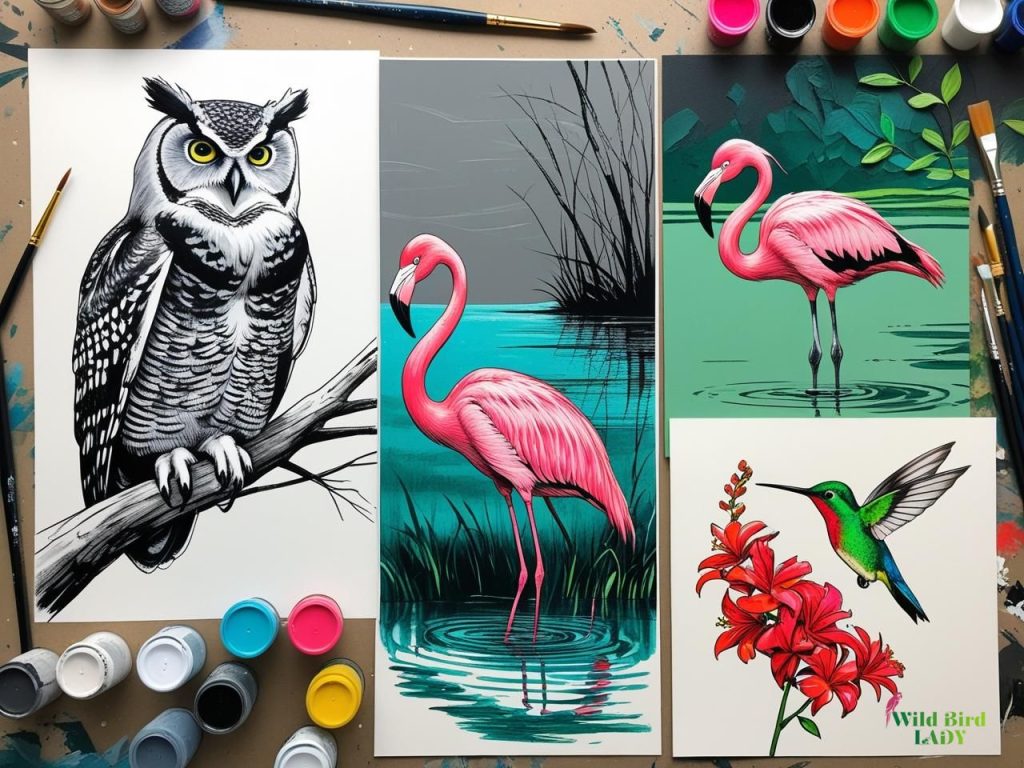
- Ink drawings (great for contrast)
- Acrylic on canvas (ideal for layering)
- Mixed media (paper collage, digital overlay, or fabric textures)
One of my favorite pieces I ever created was a linocut print of a Barn Owl — something I would’ve never tried if I’d stuck to traditional painting. The key is to let your experience guide your medium.
Step 6: Create a Series or Theme
Painting a single bird is powerful. But creating a themed series tells a story. I often organize mine by:
- Season: Winter birds in muted palettes
- Habitat: Marshland vs. backyard birds
- Behavior: Birds in motion, birds nesting, birds calling
- Color palette: Reds of cardinals, golds of finches, iridescence of grackles
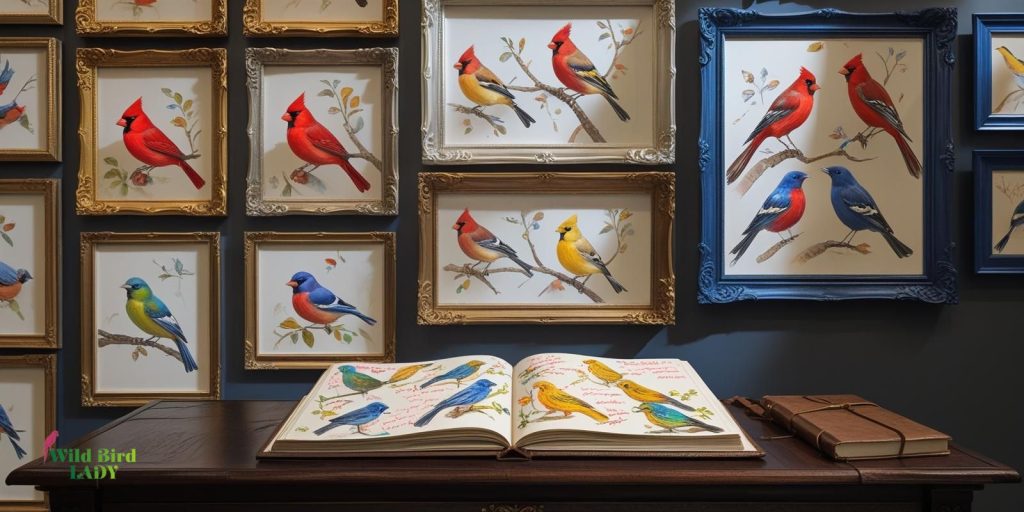
This not only challenges your artistic growth but creates a cohesive body of work that can be displayed or even sold.
My Personal Process: From Field to Frame
Here’s what a typical bird-art workflow looks like for me:
- Field Sketch or Photo: I observe a bird — say, an Eastern Bluebird — and sketch its profile and posture quickly.
- Reference Photos: I capture a few photos, noting lighting and color.
- Studio Time: Back home, I create a pencil outline, then block in colors using watercolor.
- Details and Texture: I use fine brushes for feather detailing, and sometimes a white gel pen for highlights.
- Signature Touch: I add a note or poem beneath the painting — usually something from my field notes or how the bird made me feel.
Building a Bird Art Journal
If you’re not ready for full paintings, start with a birdwatching art journal. Mine contains:
- Quick gesture sketches
- Color swatches from feathers
- Notes on calls, behavior, and mood
- Dates and times of sightings
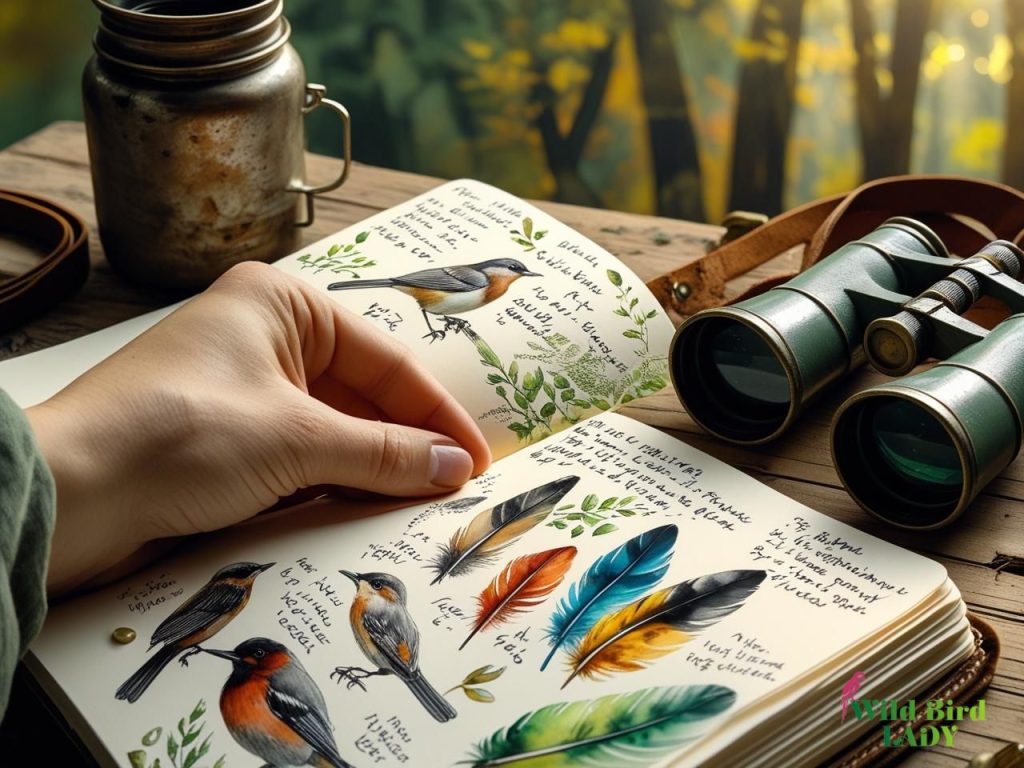
Over time, this becomes a visual record of your birdwatching life — more than any photo album ever could.
Connecting with Other Bird-Artists
Bird-art is more than a solo endeavor. Consider:
- Joining Facebook groups like “Birds in Art”
- Submitting work to the Birds in Art exhibition hosted annually by the Leigh Yawkey Woodson Art Museum
- Following bird artists on Instagram for inspiration (@johnmuirlaws, @sophie_green_art)
There are entire communities of people just like you — folks who see a Northern Flicker and feel the urge to paint, sketch, or print.
Final Tip: From Field to Canvas — A Bird-Inspired Journey
For beginners learning how to paint birds, don’t be afraid to start small. Even sketching birds in the wild or adding color to your birdwatching journal can spark powerful creativity. Whether you’re creating bird-inspired artwork from memory or working on painting birds from observation, the key is consistency and joy. Over time, these small studies evolve into expressive, beautiful pieces of art that honor your connection with nature.
Final Thoughts: It’s About Connection
Birdwatching and painting both require stillness, observation, and a deep sense of presence. When combined, they offer something profound: a connection to the natural world that transcends simple sight.
When I look at my painting of a Carolina Wren perched on my fence post, I’m not just seeing color on paper. I’m remembering the moment — the soft rain, the way the bird fluffed its feathers, the trill of its call.
That’s the magic of bird-art. You’re not just painting a bird. You’re painting a moment — one only you experienced, one only you can interpret.
So next time you head out with your binoculars, bring a sketchpad too. Who knows? Your next masterpiece might be fluttering just above the treeline.
Bonus: 10 Tips for Painting Birds from Life
- Practice quick gesture sketches before details.
- Use binoculars with close focus for field observation.
- Carry a small watercolor kit when hiking.
- Photograph in early morning light for better contrast.
- Learn bird anatomy basics for better accuracy.
- Watch feather patterns — each species has unique layering.
- Use a limited color palette to build harmony.
- Don’t aim for perfection — aim for feeling.
- Try drawing bird calls as visual marks or shapes.
- Let your mistakes teach you — every sketch adds skill.
Interested in More?
- Want to know how to attract birds to your yard? Read my full guide here
- Curious about bird symbolism in art? My cardinal symbolism guide dives into spiritual meaning.