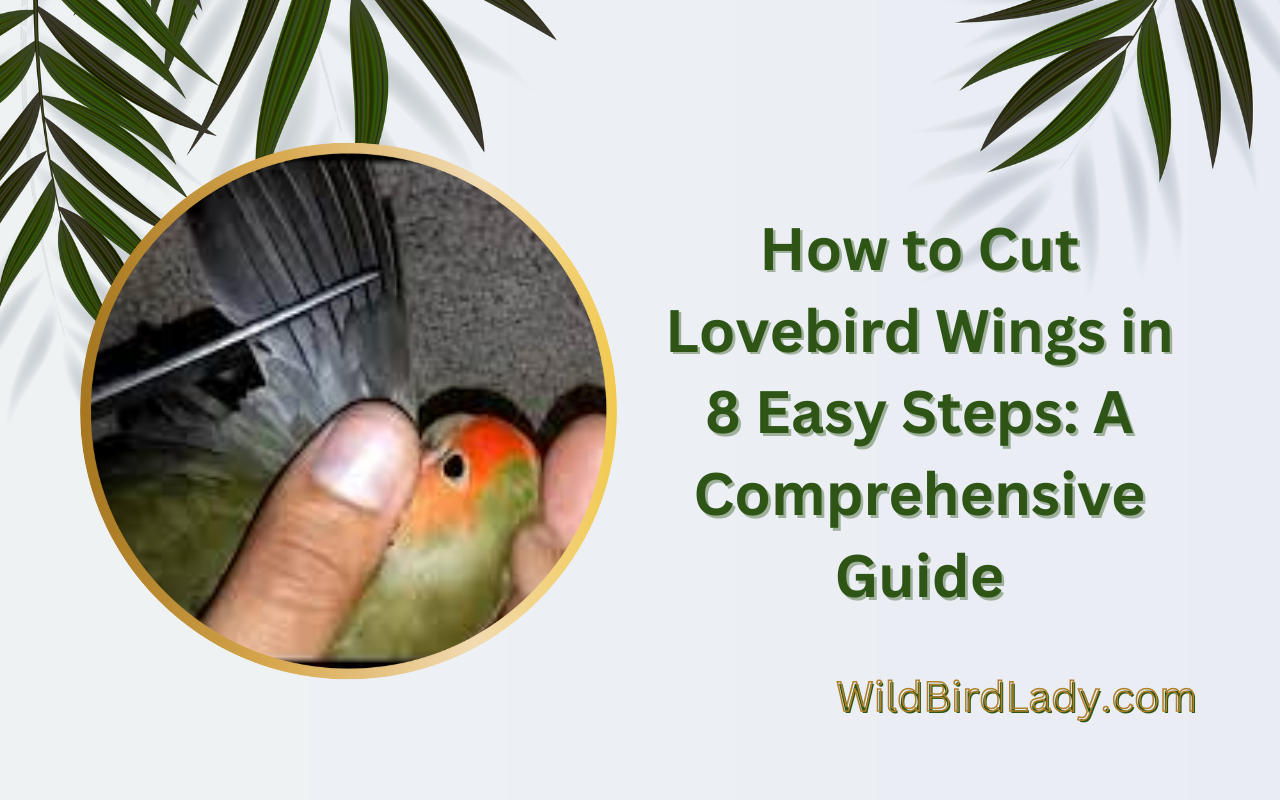
How to Cut Lovebird Wings in 8 Easy Steps: A Comprehensive Guide
Cutting lovebird wings can be done in just 8 easy steps.
First, catch the lovebird and gently restrain it.
Then, proceed to trim the primary flight feathers on each wing. This will prevent the lovebird from flying too far or too high and provides safety for the bird. Lovebirds are known for their unique beauty and affectionate nature, which make them popular pets among bird enthusiasts.
However, owning a lovebird requires proper care and attention, including wing trimming. Wing trimming is an important aspect of lovebird care that prevents the bird from flying into danger. It also helps keep the bird healthy and happy. In this article, we will outline an easy step-by-step guide on how to cut lovebird wings. By following these simple steps, you can effectively cut your lovebird’s wings and ensure a safe and healthy environment for your pet.
- 🧤 Wear Gloves To Protect Your Fingers From Lovebirds’ Sharp Beaks And Claws.
- 🩹 Have A First Aid Kit Nearby.
- ✂️ Ensure That The Scissors Or Clippers Used To Cut The Wings Are Sharp And Clean.
- 🦜 Wait for the lovebird to molt before clipping its wings.
- 🩺 Watch for signs of a “blood feather”.
- 🗓️ One to two new feathers indicate that it’s time to clip their wings.
- 🛠️ Sharp Scissors Or Clippers For The Wings.
- 💨 Styptic Powder In Case Of Bleeding.
- 🛀 Towel For Holding Your Lovebird During The Clipping Process.
- 🦜 Know the anatomy of your lovebird’s wings.
- 🧣 Use A Towel To Wrap Around The Bird, Securing It Tightly.
- 🤲 Hold The Lovebird Gently But Firmly Around Its Neck.
- 🚫 Avoid Applying Too Much Pressure.
- 😌 Confirm That Your Lovebird Is Comfortable And Calm.
- 👂 Ensure Your Lovebird’S Breathing Is Not Obstructed.
- ⚠️ Avoid Putting Your Lovebird Under Any Stress Or Danger.
- 🐢 Work Slowly And Calmly.
- 🔪 Find The Primary Flight Feathers.
- 🪶 Select The Feathers To Clip.
- 🤲 Hold The Bird Properly.
- ✂️ Clip The Feathers.
- 🩸 Check For Bleeding.
- 🤐 Offer Calm And Quiet Surroundings To The Lovebird.
- 🏠 Keep The Lovebird In Its Cage Until The Wings Grow Back.
Credit: liagriffith.com
Step 1: Safety Precautions
Lovebirds can be feisty and protective, so it’s crucial to take safety precautions when cutting their wings. Follow these tips to ensure a safe and successful wing-clipping experience:
Wear Gloves To Protect Your Fingers From Lovebirds’ Sharp Beaks And Claws.
Lovebird’s beaks and claws are sharp, and powerful, and can quickly injure your fingers. Always wear thick gloves to protect your hands from bites and scratches when handling lovebirds.
Have A First Aid Kit Nearby
In the unlikely event that something goes wrong during the wing-cutting procedure, it’s essential to have a first aid kit nearby and be prepared to act appropriately. Additionally, you should have a plan of action for minor injuries that may occur during the procedure.
Ensure That The Scissors Or Clippers Used To Cut The Wings Are Sharp And Clean.
Using dull or dirty tools to cut the wings can cause pain and injury to the lovebird. Always use sharp and clean scissors or clippers to ensure a smooth and quick wing cut.
Following safety precautions is essential while wing-cutting lovebirds. Wearing gloves, having a first aid kit and ensuring that the cutting tools are sharp and clean are some of the critical safety measures that should never be taken lightly. Safety should always come first, especially when dealing with pets.
Step 2: The Right Time To Clip Wings
When it comes to learning how to cut lovebird wings, it’s crucial to recognize the proper time to do so. You don’t want to cut the wings too early, as this can cause the bird to have an accident when attempting to fly.
On the other hand, if you wait until the wings are too long, the task can become more tricky, leading to unnecessary stress on the bird.
So, when is the right time to clip a lovebird’s wings? Here are the key things to consider:
- Wait for the lovebird to molt before clipping its wings: Before you think about clipping your lovebird’s wings, you should wait for it to undergo its first molt. This typically occurs when the bird is around three to four months old. Molting is the process of shedding feathers and growing new ones, and it helps signal that the bird is ready for its next development stage.
- Watch for signs of a “blood feather”: During molting, one or two new feathers may grow while the other feathers drop. These “new” feathers, known as blood feathers, contain blood and should not be clipped. Instead, wait for them to grow out and harden before attempting to clip the wings.
- One to two new feathers indicate that it’s time to clip their wings: Once the blood feathers have matured, watch for the development of one or two new feathers on each wing. This is the optimal time to clip the wings, as you want to ensure that there is enough length left for the bird to maintain balance and glide.
Remember, trimming your lovebird’s wings is not a one-time job. It’s a process that needs to be repeated every 2-3 months, depending on the growth of the feathers. By choosing the perfect time to clip your lovebird’s wings, you’ll help to maintain its safety while allowing it to enjoy its freedom in a controlled environment.
Step 3: Necessary Tools
Lovebirds are active and intelligent birds that make excellent pets. A vital part of owning a lovebird is taking care of them, which includes grooming their wings. Clipping their wings prevents them from flying away and getting hurt.
Sharp Scissors Or Clippers For The Wings
One of the essential tools you’ll need to clip your lovebird’s wings is a pair of sharp scissors or clippers. Blunt scissors can harm your lovebird or cause accidents. Check that you have them sharpened regularly, so they are always in good condition.
Here’s a list of different types of clippers you can use:
- Bird nail clippers
- Scissors
- Poultry shears
- Pet-specific clippers
Styptic Powder In Case Of Bleeding
Cutting your lovebird’s wings may cause them to bleed. The blood may not stop flowing immediately, so it’s crucial to have styptic powder on hand. It’s a clotting agent that stops the bleeding quickly. You can find it at a pet store or online.
Towel For Holding Your Lovebird During The Clipping Process
Clipping your lovebird’s wings can stress them out; therefore, it’s best to have a firm grip while also ensuring their safety. A towel is an excellent tool to hold your lovebird during the clipping process. The towel should be big enough to wrap your bird securely while also allowing enough room for you to snip the wings.
By having the necessary tools at your disposal, you can quickly and efficiently clip your lovebird’s wings. Your bird’s safety should always be the top priority. Remember to keep the tools clean and sharpened, the styptic powder in reach, and a towel in hand.
Step 4: Understanding The Bird’S Anatomy
Lovebirds are a popular bird species among pet lovers mainly because they are small, often colorful and characterized by their energetic and playful personalities. If you’re a lovebird owner, you know that trimming their wings is an essential part of their care routine to prevent accidents, such as crashes into windows and injuries caused by colliding with objects in your home.
Cutting your lovebird’s wings is a simple process that requires patience and attention to detail. In this comprehensive guide, we will take you through the process of cutting your lovebird’s wings in eight easy steps.
Before cutting your lovebird’s wings, it’s essential to understand the structure of their wings. Lovebirds have two types of feathers in their wings:
The Primary Feathers
The primary feathers are the long feathers in the wings that are responsible for the bird’s lift during flight. There are ten primary feathers in total, and they are numbered from the first to the tenth starting from the bird’s body.
The first four primary feathers are essential for flight and should not be trimmed. However, the remaining six can be trimmed as per your preference.
- First four primary feathers are crucial for flight and should not be trimmed.
- The remaining six primary feathers can be trimmed as per your preference.
The Secondary Feathers
The secondary feathers are shorter feathers located underneath the primaries. These feathers overlap during flight, ensuring a smooth, streamlined surface that’s more aerodynamic. Unlike the primaries, these feathers can be trimmed without affecting the bird’s flight significantly.
- Secondary feathers are shorter and located underneath the primaries.
- They overlap during flight and ensure a smooth, streamlined surface that’s more aerodynamic.
- These feathers can be trimmed without affecting the bird’s flight significantly.
Knowing the anatomy of your lovebird’s wings is crucial when trimming them; it ensures that you don’t end up clipping the feathers that are essential for flying. Understanding the primary and secondary feathers will help you determine how much to trim, at what angle, and which feathers to leave untouched.
Now that you understand the anatomy of your bird’s wings let’s move to the next section, where we will prepare everything necessary for trimming the wings.
Step 5: Restraining Your Lovebird
Cutting lovebird wings is essential for their safety and well-being. After clipping each wing, it’s vital to restrain your lovebird so that you can work comfortably and safely. Follow the simple steps below to successfully restrain your lovebird.
Use A Towel To Wrap Around The Bird, Securing It Tightly
Firstly, place your lovebird on a flat and stable surface.
Wrap a small towel around your lovebird’s body, making sure it’s tight enough to prevent any movement.
Hold The Lovebird Gently But Firmly Around Its Neck.
Once you’ve wrapped the towel, hold your lovebird gently but firmly around its neck by placing your thumb on one side and the rest of your fingers on the other.
You can also choose to use your free hand to keep the wings steady.
Avoid Applying Too Much Pressure
Remember to be gentle while holding your lovebird, while making sure you don’t give the bird too much space to wiggle around.
Confirm That Your Lovebird Is Comfortable And Calm
Make sure your lovebird is comfortable and calm before proceeding to clip the wing feathers. Talk soothingly and keep your lovebird at ease.
Take Note Of Your Lovebird’S Reaction
Your lovebird might react with anxiety, aggression or fear at any point. So, be prepared to step back briefly if your lovebird becomes restless.
Ensure Your Lovebird’S Breathing Is Not Obstructed
While wrapping the towel or holding its neck, pay attention to your lovebird’s mouth and nostrils to ensure they are breathing comfortably.
Avoid Putting Your Lovebird Under Any Stress Or Danger
Only prevent movement, avoid applying too much pressure and be cautious with the bird’s neck.
Work Slowly And Calmly
Lastly, once you are satisfied that your lovebird is restrained, work slowly and calmly to clip each wing evenly.
By following the above steps, you can restrain your lovebird comfortably and safely, making the process of clipping its wings much more comfortable for your lovable pet.
Step 6: Clipping The Wings
Now that we have prepared the tools and the lovebird, it’s time to start wing clipping. Here are the 5 easy steps to follow:
1. Find The Primary Flight Feathers
The primary flight feathers are the longest feathers in the bird’s wings. They are the ones that need to be clipped to prevent the bird from flying away. Locate these feathers before proceeding with the clipping.
2. Select The Feathers To Clip
Choose the feathers to clip carefully. Never clip all of the feathers at once. We only need to clip a few feathers to ensure the bird’s safety.
3. Hold The Bird Properly
Before we begin, ensure that the bird is calm. Hold it gently but firmly to avoid injuring it. Hold the bird in your non-dominant hand.
4. Clip The Feathers
Using sharp scissors, clip the feathers at a 45-degree angle. Be careful not to cut into the skin or the feathers adjacent to the one being clipped. Be sure to clip on both wings evenly.
5. Check For Bleeding
Once the wings are clipped, carefully examine the bird’s wings for any signs of bleeding. Apply a small amount of styptic powder or cornstarch to the clipped feather if there is any bleeding. This will help stop the bleeding.
After you have completed this step, the lovebird’s wings will have been clipped successfully. However, it is essential to monitor your pet bird at all times after the procedure to make sure they are safe and comfortable.
Step 7: Post-Care For Your Lovebird
Lovebirds are beautiful and active birds that require proper care and attention, especially when it comes to wing clipping. In our previous posts, we have discussed at length the techniques and steps to follow while cutting your lovebird wings. In this post, we will discuss post-care for your lovebird after wing clipping.
This information will allow you to take care of your lovebird while its wings grow back.
Offer Calm And Quiet Surroundings To The Lovebird
After wing clipping, your lovebird may be agitated or scared since its primary mode of transport or escape has been taken away. Therefore, it is essential to offer it a calm and quiet environment to help it recover from the procedure.
Here’s how you can create a friendly environment for your companion.
- Keep other pets such as cats and dogs away from the lovebird’s cage
- Avoid loud music and frequent movement in the vicinity of the lovebird
- Handle the lovebird gently without sudden movements or loud screams
Keep The Lovebird In Its Cage Until The Wings Grow Back
The wings of your lovebird will grow back at varying rates, depending on the bird’s individual factors such as age and health status. During this recovery time, it is essential to keep the bird in its cage to prevent it from flying and causing injury.
Here’s how you can take care of your lovebird’s cage.
- Ensure the cage is spacious, clean, and comfortable
- Provide soft bedding materials such as wood shavings or shredded paper
- Place the cage in a well-ventilated area away from direct sunlight
Taking care of your lovebird after wing-clipping is crucial in ensuring its full recovery. By providing calm and quiet surroundings and keeping the lovebird in its cage until the wings grow back, you can give your feathered friend the best care and attention it deserves.
Remember, lovebirds are social birds that thrive in partnership with their owners. Spend time with your lovebird, playing, and building trust.
Frequently Asked Questions
How Often Should You Clip Your Lovebird’s Wings?
You should clip your lovebird’s wings every 4 to 6 months. Clipping them every so often helps prevent them from escaping or getting lost.
Can You Just Trim The Feathers On One Wing?
Yes, only trimming feathers on one wing is a common procedure. Trimming feathers from one wing allows your bird to fly in a controlled manner.
Will Cutting My Lovebird’S Wings Hurt Them?
No, cutting a lovebird’s wings will not hurt them. The procedure is painless, and they will just feel lighter and slightly unbalanced while they get used to their trimmed feathers.
Conclusion
After following the 8 easy steps we have laid out, cutting your lovebird’s wings should be a straight-forward and stress-free process. With the right tools, patience, and a gentle touch, you can safely and effectively trim your lovebird’s wings while ensuring their comfort and happiness.
Remember to take your time, stay calm, and reward your lovebird with treats and praise throughout the process. Although it may seem daunting at first, cutting your lovebird’s wings is a simple and necessary step in maintaining their safety and well-being.
With our comprehensive guide, you can confidently provide the care your lovebird needs to thrive. So grab those clippers, take a deep breath, and let’s get started!